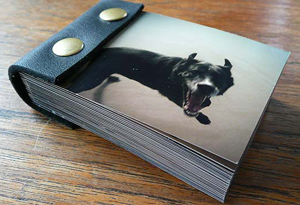
 This is the fifth post on my experiment comparing making a print-on-demand mini book with making a similar book by hand.
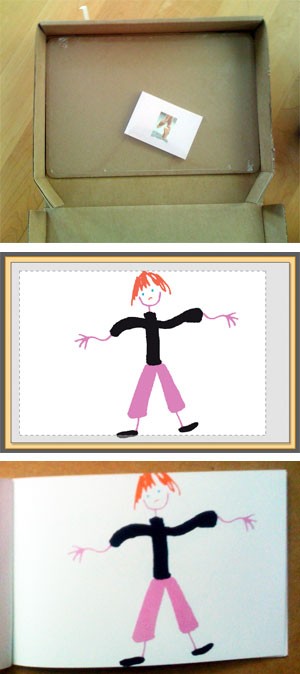
![]() The book I made using Lulu arrived the other day (this post relates my experience laying out the book). You can’t just buy one mini-book, you have to buy them in multiples of 4 (or $15.96 + shipping). They arrived in a ridiculously large box looking very forlorn.
The book I made using Lulu arrived the other day (this post relates my experience laying out the book). You can’t just buy one mini-book, you have to buy them in multiples of 4 (or $15.96 + shipping). They arrived in a ridiculously large box looking very forlorn.
![]() And right they should look unhappy, as I was too when I opened the books. If you remember I was confused by the Lulu layout software and what the preview was showing me. After I ordered my books, a Lulu staff member answered the forum queries about this, confirming my assumption: “This is where you can expect the printer to trim the page. For this reason you should not put important text and/or images in this area [outside the rectangle].”
And right they should look unhappy, as I was too when I opened the books. If you remember I was confused by the Lulu layout software and what the preview was showing me. After I ordered my books, a Lulu staff member answered the forum queries about this, confirming my assumption: “This is where you can expect the printer to trim the page. For this reason you should not put important text and/or images in this area [outside the rectangle].”
![]() The image to the left is the Lulu preview with a dotted rectangle — anything outside that area might be trimmed. So I kept the parts of my images that mattered inside the rectangle. A photo of the book that arrived is below the preview — they trimmed inside this “safe area.”
The image to the left is the Lulu preview with a dotted rectangle — anything outside that area might be trimmed. So I kept the parts of my images that mattered inside the rectangle. A photo of the book that arrived is below the preview — they trimmed inside this “safe area.”
![]() And, unfortunately, that’s not all. The spreads are badly folded, so that the left-hand page is not completely pink, but has a white stripe (different width on every page) at the gutter. And the Lulu logo is emblazoned on the back of the book — can’t remove it or put my own logo. Finally, the preview that is available after the book is “published” — authors use this to promote their books, so prospective buyers can see inside the book before buying — shows the trim as about 1/4″ above and below the dotted rectangle. WYSIWYG it isn’t.
And, unfortunately, that’s not all. The spreads are badly folded, so that the left-hand page is not completely pink, but has a white stripe (different width on every page) at the gutter. And the Lulu logo is emblazoned on the back of the book — can’t remove it or put my own logo. Finally, the preview that is available after the book is “published” — authors use this to promote their books, so prospective buyers can see inside the book before buying — shows the trim as about 1/4″ above and below the dotted rectangle. WYSIWYG it isn’t.
![]() The books arrived last Friday (Jul 17) and over the weekend I submitted their complaint form stating the printing had gone awry, including pictures of the bad trim and gutter problems. After 5 days, I haven’t heard a peep back.
The books arrived last Friday (Jul 17) and over the weekend I submitted their complaint form stating the printing had gone awry, including pictures of the bad trim and gutter problems. After 5 days, I haven’t heard a peep back.
![]() My conclusion: lousy production, lousy customer service, bad product. I won’t be making another book with them.
My conclusion: lousy production, lousy customer service, bad product. I won’t be making another book with them.

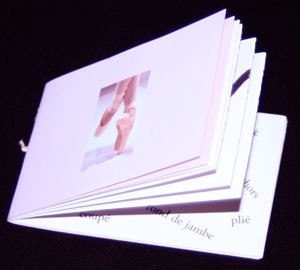 This is the fourth post on
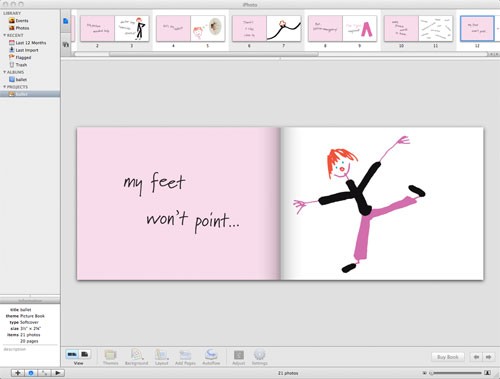

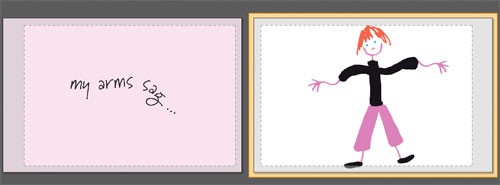
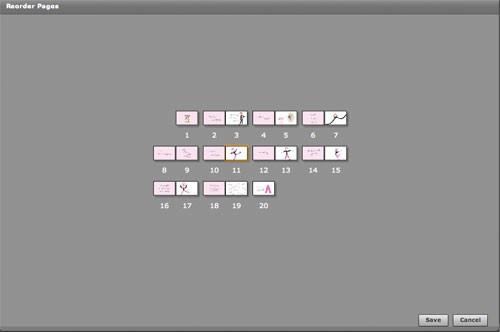
 What is that dotted lined rectangle and gray area around my images — does that indicate the trim or something else? I made the JPGs over-sized (1/16″ larger on all sides than the book to ensure the pink bled off the left pages), so why didn’t the images fill the preview? The second smaller preview looked more like what I thought I should see (that’s it to the right).
 Several weeks ago, my friend Kate