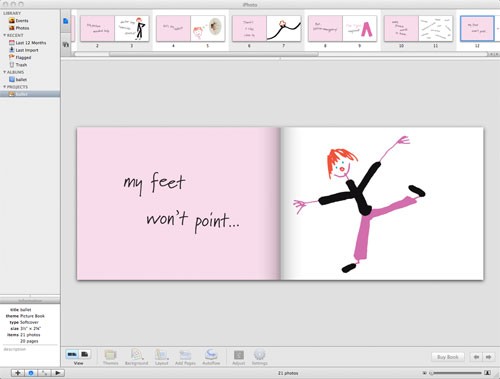
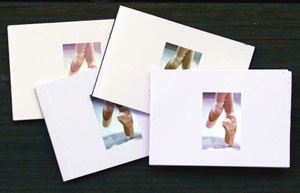
 This is the seventh (and final) post on my experiment comparing making a print-on-demand mini book with making a similar book by hand.
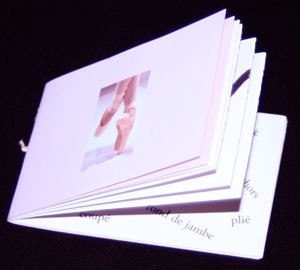
 For my experiment, I made 4 books, all approx. 3.75″x2.5″, using 2 print on demand companies — Lulu and Apple (via iPhoto) — and 2 completely handmade — one using double sided photographic (coated) paper, the other with a non-coated text-weight paper. Is it cheaper and easier to print and assemble an edition of these small books by farming it out to a company like Lulu?
 Below is a table comparing the books and production costs.
|
cost |
paper |
construction |
lies flat |
max pages |
| Lulu |
$5.45 |
slick/coated |
glued |
no |
100 |
| iPhoto |
$6.02 |
slick/coated |
glued |
no |
20 |
| photo paper |
$3.63 |
matte |
sewn |
yes |
unlimited |
| text weight |
$3.63 |
matte |
sewn |
yes |
unlimited |
| Sold on Lulu |
$0.00 |
slick/coated |
glued |
no |
100 |
NOTES:
- For the on-demand books, the cost includes shipping for the minimum number of books (minimum of 3 for iPhoto, 4 for Lulu). For iPhoto, the cost for 3 books with shipping was $18.06, so each book was 18.06/3 or $6.02. For the cost of the handmade books, I included materials and my labor ($25/hour). It takes 30 minutes to print, cut, assemble and sew 4 books There’s a cost savings in labor for me if I make multiple books at a go, since many tasks take practically the same time whether making one book or 4.
- Lulu’s site is set up to sell books for publishers. So if I sold on their website, rather than having the books delivered first to my studio, the cost would actually be $0. However this doesn’t work for me for 2 reasons: Etsy, where I sell the majority of my books, doesn’t allow third party fulfillment, so I’d have to buy the books up-front to ship them myself. Second, buyers can’t purchase just one mini-book on Lulu, and I doubt I’d have very many sales of the minimum.
- The cost is for a 20 page book. That’s the minimum for Lulu & iPhoto (and the maximum for iPhoto mini-books as well). Each extra page is $.25 on Lulu, less for the handmade books.
There’s one last criteria for my experiment: I showed the 4 books to several people and asked their opinion of the paper, construction, and feel. Each said they liked the iPhoto book best — the slick coated paper made the colors pop and they expected that sort of paper in a picture book, rather than a paper that might be in a book of text only. Lulu’s book was everyone’s second choice, but it was obvious to all that it was inferiorly made. The fact that the books didn’t lie flat concerned only me!
 What’s next? Sadly the iPhoto book is too expensive to produce and then resell — I doubt I can get more than $10 per copy and the markup really should be 50% to cover my costs to market, store, etc. the book. It’s too bad the Lulu books didn’t work out, as they are on the cusp of being affordable. I may make a few handmade ones using photo paper and list them in my Etsy store and see how they do. I’m also going to think about what sort of larger dimension book I could make using Blurb — my current work doesn’t really suit their photo book format, but it’s an interesting challenge.
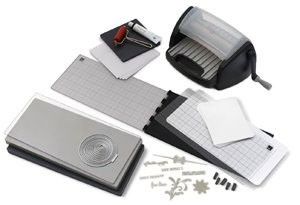 The popularity of scrapbooking has opened up a world of tools and papers that were hard-to-find and expensive just a few years ago. Now there are low-cost manual machines to apply glue (I have one myself — a laminator — that I use for my bookmaking). Similar rotary machines will die cut (mostly pre-made dies, but you can have your own made or there are models that are computer controlled). And now, coming to a craft store near you this fall, is L, “the Letterpress combo kit [that] contains everything you need to begin letterpress printing right away.” In the pictures below, you can see how it works…
![]() But what exactly is “letterpress”? Is it only, as their website explains, “printing words or designs with ink while simultaneously debossing it into a thick, soft paper.” I suppose it is, although I stress in my Etsy listings that my printing work is all done on my vintage 1890s large cranky press. The Lifestyle Craft website doesn’t show an example of the impression you can get from their little machine, or what sort of designs and typefaces they will offer, or how to make and use your own. I’m also sure that registering two colors will be fraught with problems. I’m interested to see a demo in person!
But what exactly is “letterpress”? Is it only, as their website explains, “printing words or designs with ink while simultaneously debossing it into a thick, soft paper.” I suppose it is, although I stress in my Etsy listings that my printing work is all done on my vintage 1890s large cranky press. The Lifestyle Craft website doesn’t show an example of the impression you can get from their little machine, or what sort of designs and typefaces they will offer, or how to make and use your own. I’m also sure that registering two colors will be fraught with problems. I’m interested to see a demo in person!

 This is the seventh (and final) post on
  This is the sixth post on
 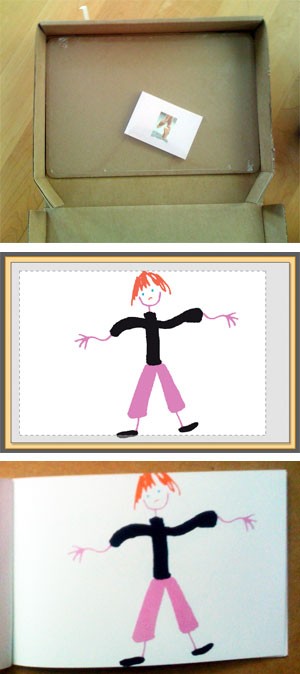 This is the fifth post on
  This is the fourth post on
