Photography

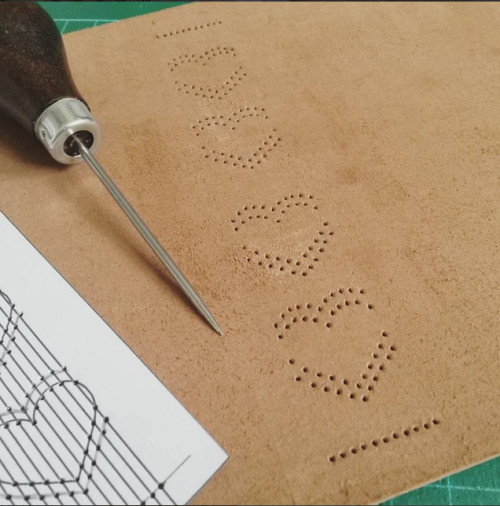
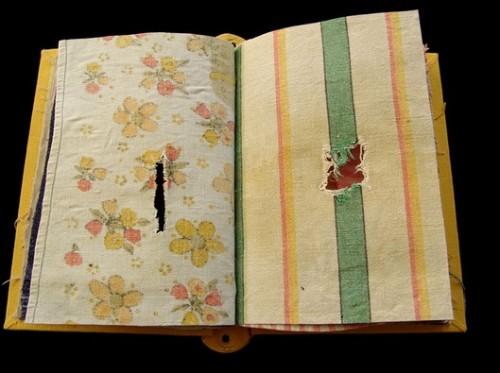
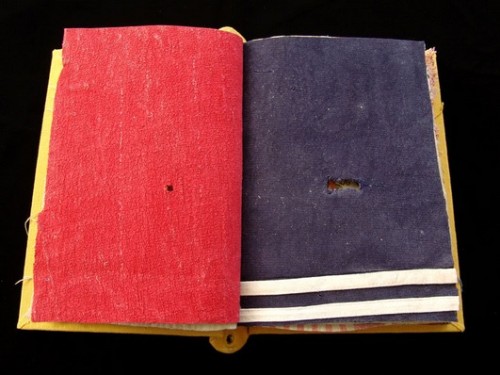
Probably the task I dislike most is taking pictures for my shop and website. Getting the thing I’m photographing lit evenly, making sure the colors are true, finding just the right angle… My letterpress prints and collages have proved the hardest to get right, because the lighting is so important (needs to be lit evenly from top to bottom and left to right). I’ve accumulated quite a mass of gear too — lights, a tripod, white cards to reflect light, a little light box. That light box has made photographing my matchbox books a breeze, but doesn’t work well for much else.

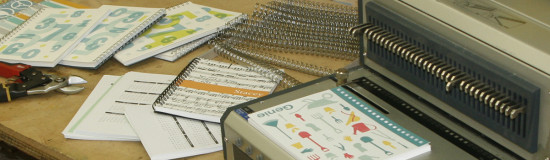
This week I needed a photograph of my workshop. A very different challenge from product photos that show the viewer what they are buying from all angles but an interesting shot that encapsulates what I do in my shop. Another challenge was that the resulting photo had to be about 3 times wider than tall. Most of the stuff in my shop is tall, not long. I tried a lot of test shots with my phone camera, and then my husband suggested I was thinking too big and should try a close cropped photo. He helped me stage my spiral binder with all the things I use to make my planners & notebooks. Here’s the result.

Green Chair Press: making my planners & notebooks

Playing with Machines

Creative play comes in all forms. I have a craft robo pro cutter that has been quite an inspiration for me. I started using it to cut out the pop-ups in my books (the first one was a miniature abridged pride & prejudice). I design the cut-out in Illustrator and then send it to the cutter (like you would to a printer). It not only cuts, but scores. Once I figured out how to use it and design for it, I started experimenting with matchbox books because it was a snap to make the matchbox container.

More recently I decided I wanted some sort of repositionable page marker for my planners and notebooks. What could I do with the cutter I wondered? I had a lot of thick clear mylar in my paper drawer, so I started with that. Worked pretty well, but the feedback I got was that they needed to be colored and maybe weren’t thick enough. After a long fruitless search for thick colored mylar, I bought some samples of vinyl that was sticky on one side. My idea was to laminate the vinyl to the mylar, but that proved to be a mess (couldn’t get it to go on without a zillion bubbles). So I tried laminating it to paper—both sides. That worked much better. If you buy a planner, now you can get a page marker too. See an example in the photo or here.

green chair press: repositionable page markers