The word for my prompt challenge group this month is “embroider.” I knew immediately I wanted to use embroider in the “add fictitious or exaggerated details to make something more interesting” sense of the word. Then I saw Carol Blinn’s fabric book and I knew I wanted to try something with hand sewing and fabric. The pleasure (and challenge) of these prompts is making a book combining things I know with some skill I’m not as comfortable with. Sometimes the balance is off though, and this month I fumbled around a lot with too much of what I didn’t know!
![]() My first step seemed safe enough—I investigated embroidery stitches and decided I could probably safely do cross-stitching. Then I went to the fancy fabric store in town and got completely overwhelmed, over-awed and side-tracked. I came home with this:
My first step seemed safe enough—I investigated embroidery stitches and decided I could probably safely do cross-stitching. Then I went to the fancy fabric store in town and got completely overwhelmed, over-awed and side-tracked. I came home with this:
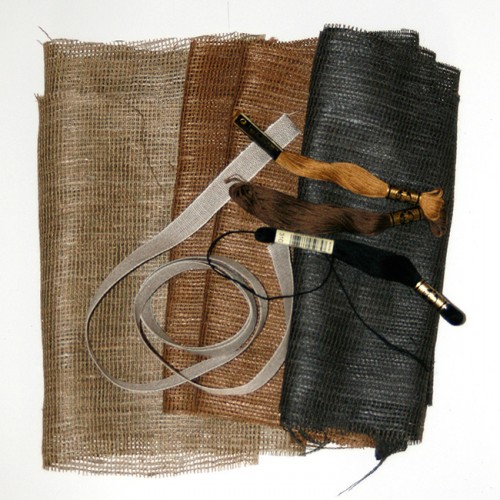
If you sew, you’ll know that I should have bought something linen-y, not something meshy. I spent several days trying to make the fabric work with my limited embroidery skills until I noticed that Carol had used french knots in her book. French knots don’t work at all on meshy fabric, they just fall through the holes, but with the proper (tighter weave) fabric I could use the knots to make what I hoped would be interesting patterns. So back to the fabric store for an embroidery hoop and some new fabric.
![]() As I practiced making french knots, I realized I could use them to write words in braille—the dot patterns would meet my criteria of “interesting” and if the words were synonyms of “embroider,” I’d be working in the meaning of embroider I was looking for. Here’s “puff up”
As I practiced making french knots, I realized I could use them to write words in braille—the dot patterns would meet my criteria of “interesting” and if the words were synonyms of “embroider,” I’d be working in the meaning of embroider I was looking for. Here’s “puff up”
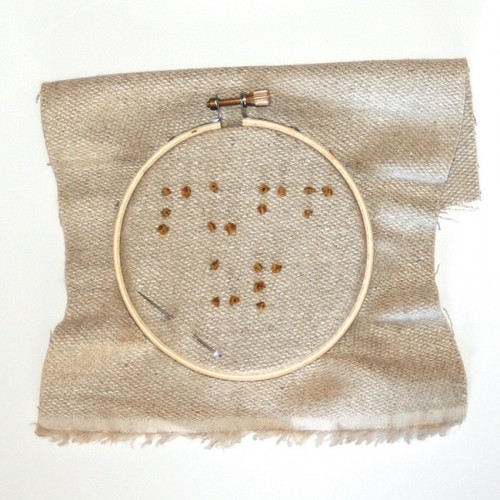
The words I chose: misrepresent, ornament, make much of, embellish, disguise, upgrade. I made 5×7″ “pages” out of my fabric and sewed the words onto them, then bound them into a book using Claire Van Vliet’s single sheet woven method.
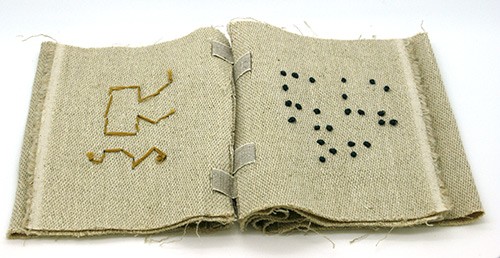
I knew the others in my group would like this book because it was so not me! The binding is loose. The edges are frayed. It’s messy. It does feel nice in the hand and I really like the verso pages because you can see where the sewing comes through. It was also a novelty using an iron to make folds rather than a bone folder.
![]() I meant to stop at this point and declare victory, but the book idea kept gnawing at me. Not to mention that I had enjoyed mastering the french knot! It dawned on me to incorporate more of what I was comfortable with into the book, so I tried sewing french knots into paper. The more fabric-y paper I pulled out first—rives BFK—didn’t work. But thicker, crisper 80# French paper did very well.
I meant to stop at this point and declare victory, but the book idea kept gnawing at me. Not to mention that I had enjoyed mastering the french knot! It dawned on me to incorporate more of what I was comfortable with into the book, so I tried sewing french knots into paper. The more fabric-y paper I pulled out first—rives BFK—didn’t work. But thicker, crisper 80# French paper did very well.
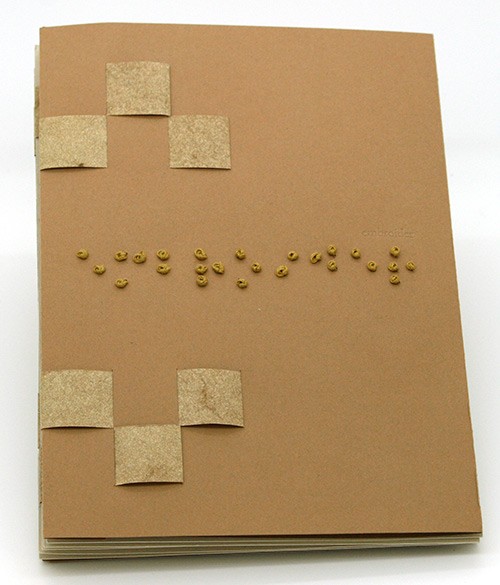
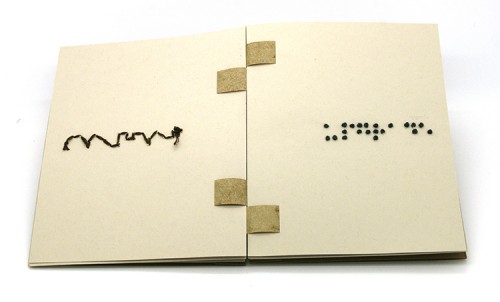
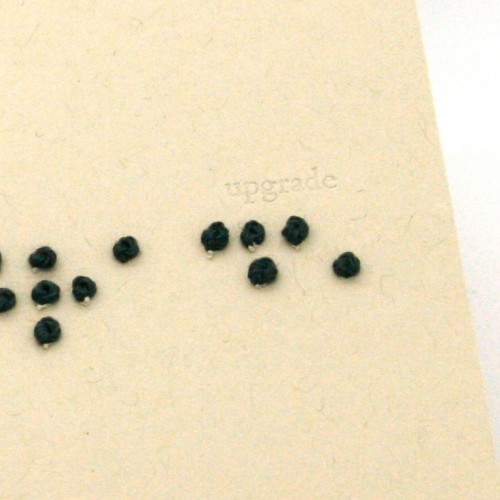
![]() After I’d sewn a few pages, I thought “why not blind stamp the word above the embroidery.” So I set some type and used my letterpress to do just that. Here’s the cover, a spread, and then a close up of one of the pages. Now I was ready to stop—this book kept what I liked about the fabric book but is much more of my neat and tidy style.
After I’d sewn a few pages, I thought “why not blind stamp the word above the embroidery.” So I set some type and used my letterpress to do just that. Here’s the cover, a spread, and then a close up of one of the pages. Now I was ready to stop—this book kept what I liked about the fabric book but is much more of my neat and tidy style.

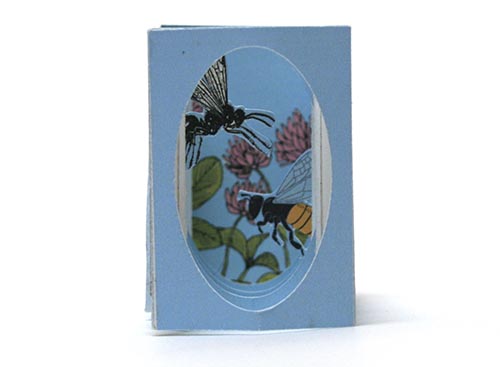
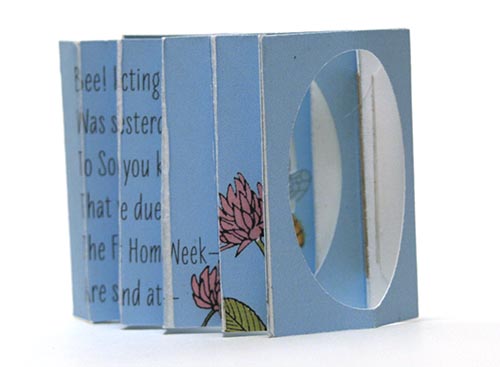
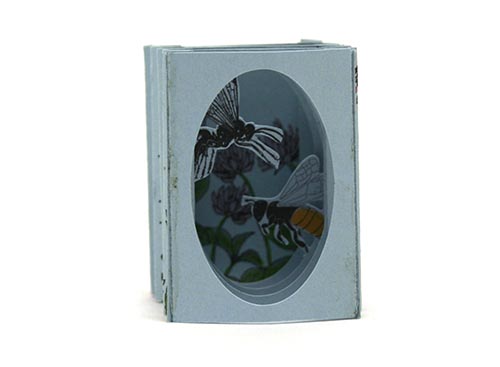
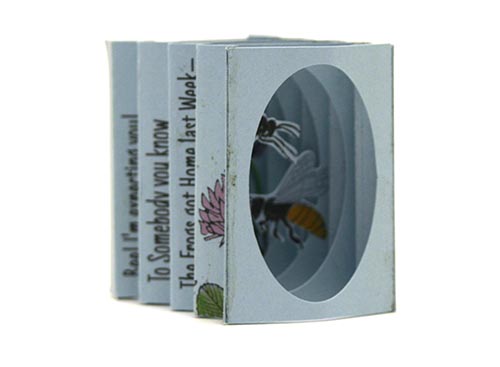
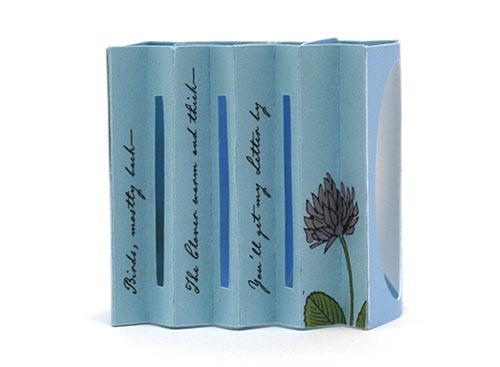
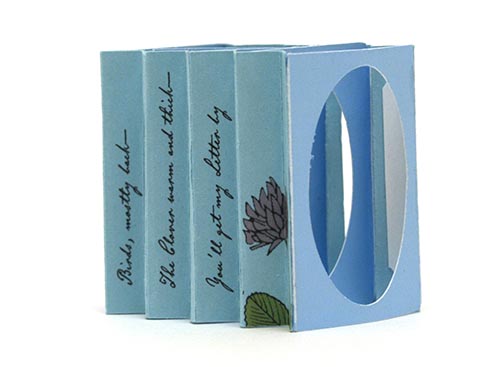
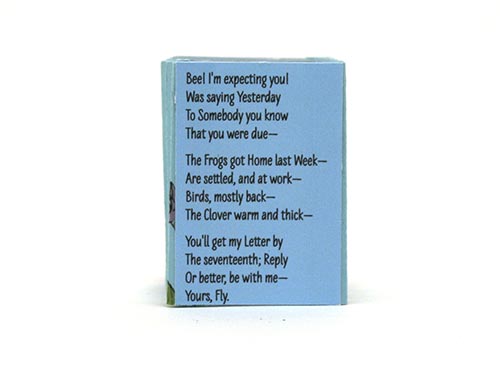
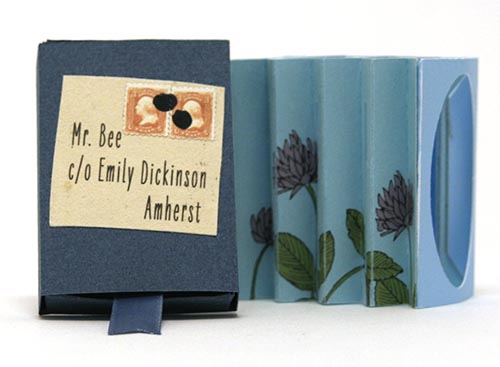
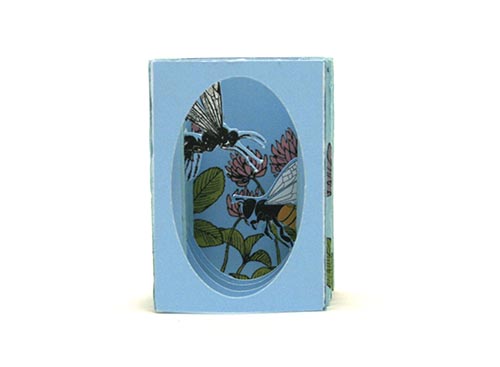

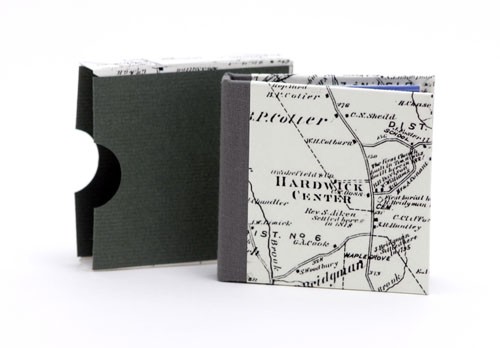
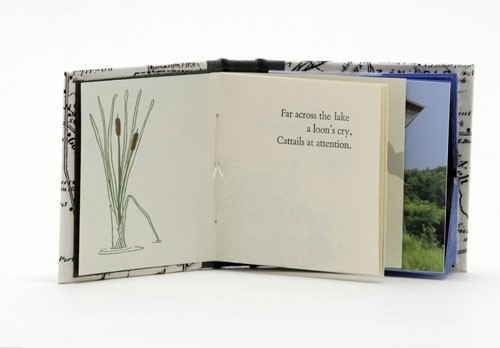
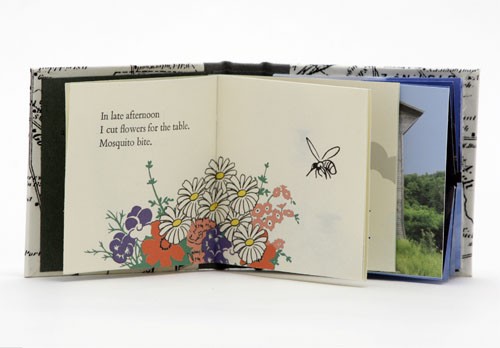
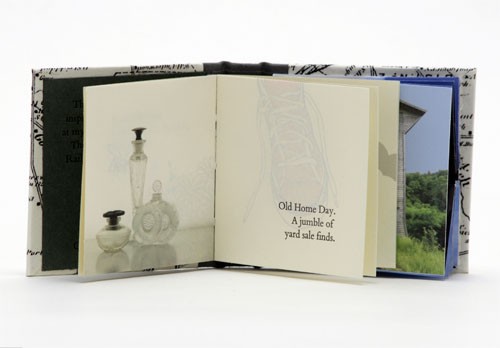
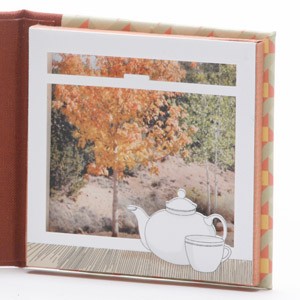 For my latest miniature book, I wanted to have a shadowbox at the end. To match the size of the “secrets” at the end of my other miniature season-themed books, it needed to be 3/16″ deep, 2-3/4″ square and I would have to be able to successfully make 20 or so of them.