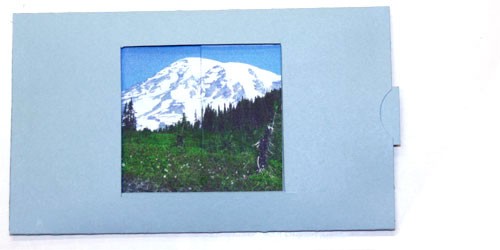
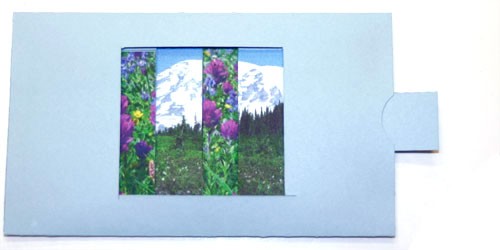
This mechanical paper structure is called a dissolving view, where you pull a tab to replace one picture with another. First an example, then the instructions for making the structure. The instructions are based on an example I found in David Carter’s book Elements Of Pop Up: A Pop Up Book For Aspiring Paper Engineers. You might also be interested in Instructions for Dissolving Views, Technique 2.
|
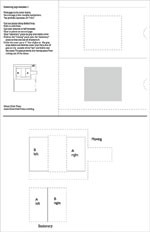
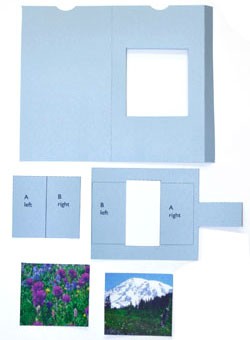
Download the template and print both pages on cover stock. The first page is the cover sleeve and the second is the movable mechanism.
In addition, you’ll need
|
|
|
Cut out the pieces, on both pages, along the dotted lines. Score and fold on the solid lines. |
| Cut your pictures in half vertically and glue them to the pieces on second page. |

|
|
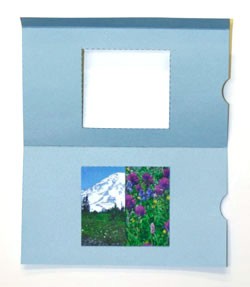
Glue the “stationary” piece to the gray area inside the cover. |
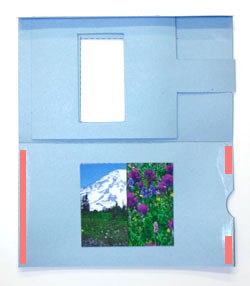
| Lay the “moving” piece inside the cover, making sure the tab sticks out so you can pull it. Inside the cover, put a ¼” line of glue on the red areas in the photo and fold the cover over. Put a line of glue on the outside of the “tab” and fold it into the cover. The glue prevents the moving piece from coming out of the sleeve. Be sure not to get any glue on the “moving” piece. |
|
|
|
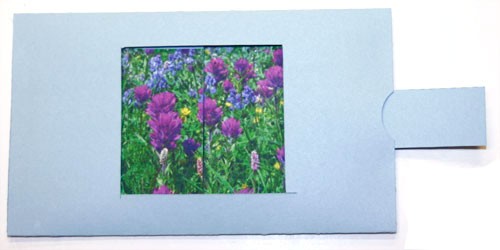
You’re all done — pull and push the tab to see both pictures. |