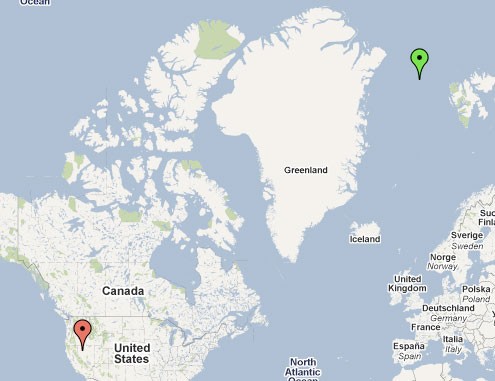
 Since moving to Santa Fe, I’ve used Google’s map feature a lot. But it hasn’t been particularly helpful for figuring out where to ride my bike… While there’s a “biking directions” switch, showing bike lanes as well as roads that are only open to pedestrians and bikes, it doesn’t show elevation. There are a lot of hills here in Santa Fe, very few bike lanes, and some roads have shoulders and some don’t. There are several bike groups that have weekly rides, and I’ve joined them a few times, which has helped me figure out where to ride on my own. I’ve also used my android phone to help me — there’s an app called MyTracks that uses GPS to plot my route as I’m pedaling. It tallies mileage and that all important elevation (of course after the fact, after I’ve sweated up some very steep hill). Although the other day it went haywire and decided I’d started my 1 hour ride from the middle of the ocean, east of Greenland, and ended up near Winnamucca, Nevada, with a very impressive max speed of 817mph (see map above).
 After that ride, I found BikeRouteToaster. It let me easily draw a route and then estimates the time it would take me to bike it, shows the elevation profile of the route and best of all creates a “cue sheet” — listing streets, turns and mileage between turns. No info about shoulders and road conditions, I guess I’ll have to figure that out on my own.
I’ll continue to explore (and struggle with) ways of making maps and directions. But I also wanted to mention mapplers, a project to build an atlas of hand-drawn maps, and use the Google maps interface to navigate them. They only have one at the moment (Brisbane Australia), but check them out here.
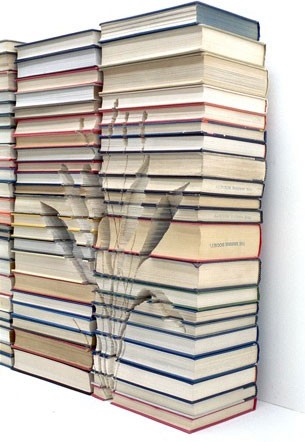 Australian artist Kylie Stillman carves images in the sides of books. See here work here. I first saw a mention of it here. Once I looked around the web for more references, I found this great comment from Lee Kottner about Stillman: “Her book stack carvings remind me of the elaborate fore-edge paintings in their distortion of the book. In this case, instead of fanning the book to create a canvas, she disregards the boundaries of the book, like covers, to make a sculptural surface.”
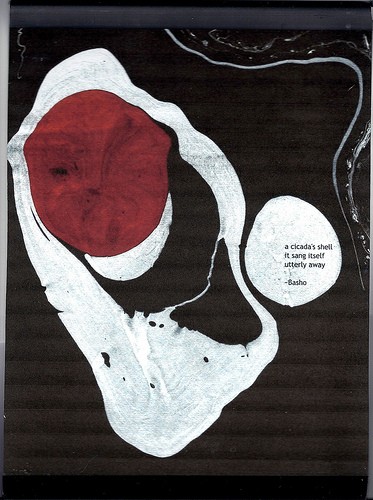
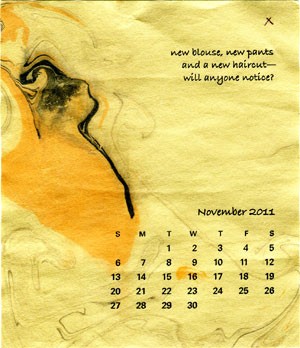 Several times over the past couple of months, I’ve played around with Japanese paper marbling (