 This is the fourth post on my experiment comparing making a print-on-demand mini book with making a similar book by hand.
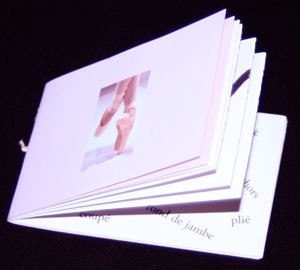
 In previous installments, I’ve written about my experience using print-on-demand services to make a small book. I’m comparing those resulting books with ones I make myself. Today I’m writing about one of the books I made myself, printed on double-sided coated paper specifically for ink jet printers (Epson Double-sided Matte Paper).
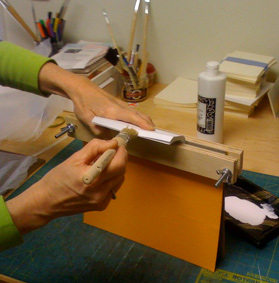
My original plan was to fold the pages into a single signature or section and sew it with a pamphlet stitch (by punching 3 holes in the middle of the spine and using a needle and thread — there’s instructions for doing this here). But the paper is too thick, resulting in a book that won’t close (see the photo above). Then I remembered a trick I’d learned for making a 2 signature book. I can’t find this trick anywhere on the web, so here it is in short form. I’ve got pictures and more explanation here.
1. Fold the 2 signatures, A and B.
2. Reverse the fold in B.
3. Put A inside of B.
4. Punch holes and sew as if it’s a single signature book.
5. Fold the front pages of B toward the back of the book.
6. Bone down the book and you’re done.
 Photographing artist’s books can be tricky and frustrating — getting the lighting right, staging the book to show off all its features… The 23 Sandy Gallery blog recently had a 2 part post on “What Makes a Good Photograph for Submission to a Juried Show or Gallery” (which also applies to photographing your work for selling online). Part I is here and Part 2 is here.