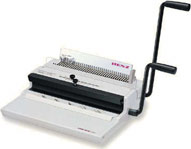
Yesterday I spent a pleasant hour or so binding a new set of my Reader’s Diary books. Many of the books I make are sewn together with needle and thread, but this one uses a wire or spiral binding. It’s a 3 step process: punch the holes for all the pages and the cover using the machine, insert the spirally wire in the holes (machine doesn’t do that), and then press the wire loops closed (the machine helps with that — I stick the book in a slot in the binder and pull down on the shorter lever to apply even pressure to the spine).
I use the binding machine at the San Francisco Center for the Book — it’s great to live so close to a place with lots of equipment I can rent when I need it! Especially this one. I looked into buying a wire binder, but even the low end models are awfully expensive for the amount of use it would get. Tina Kay, who teaches workshops in using the binder, pointed out to me that the cheaper models only bind a fixed sized spine (usually 11″), and I would definitely want a binder that allows me to vary the spine size.
My husband and I own several vintage Porsches, and he belongs to a hot-rod Porsche club. My friend Tracey and I became members this year but the t-shirts that are available for club members start in men’s large. So I started looking around for a way to make two small women’s sized shirts for me & Tracey. I’ve made iron-on transfers in the past, but they feel heavy and tacky when I’ve applied them to fabric. I toyed with getting a gocco printer, but they are more money than I want to spend. Then on the Etsy forum, someone mentioned PhotoEZ, a method for creating a stencil using sunlight & tap water that can then be inked onto fabric . The crucial thing for me was that it allows you to make the stencil from a laser printer output.
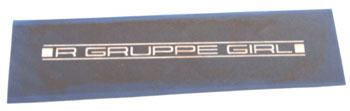
Here’s the stencil that I made
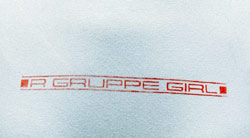
And the first t-shirt (making the stencil was easy; I need practice in applying ink–Tracey’s shirt is much more evenly inked)
There are three videos on YouTube explaining how to use the stencil kit:
| 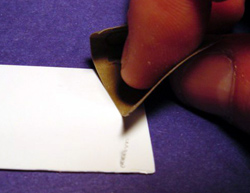 The other day as I was letterpress printing cards from photopolymer plates, I noticed a small ink mark toward the edge of the paper that shouldn’t have been there. I quickly discovered that the bottom corner of the plate was curled thus picking up ink and printing on my card! My usual remedy for this problem is to tape down the offending corner and if that doesn’t work, to cut off the curled piece of the plate.
 I
I