I’ve been wanting to design and make another pop-up book but the thought of all the hand cutting stops me dead. Then several months ago I found a place close to my home that rents time on all sorts of machinery — lathes, mills, fancy sewing machines that do embroidery, and something called a laser cutter. Book artist Julie Chen uses a laser cutter to make her intricate pop-up and layered books.
 So I signed up to take a cutter class last Sunday morning. It was exhilarating and scary — the machine can cut and etch (or score) all sorts of materials, from paper to fabric to acrylic to wood. The instructor had even etched names into Triscuits! But you have to be really careful not to catch the material on fire (the scary part) since the cutting is done using heat.
I had a project in mind — a pop-up book that I had designed but set aside because it had more hand-cutting that I wanted to do. After the class I signed up to use the cutter on Tuesday morning. I figured if I signed up right away I’d both finish my project and not forget everything from the class. The instructor gave me some hints about registration (because of course what I wanted to do is covered in the ADVANCED class on using the cutter!) My plan was to print a design on paper that I would then cut into shapes, so the cuts and the design need to line up. A day and a half isn’t much time, so I pretty much worked non-stop getting prepped & ready.
I arrived at the appointed time on Tuesday morning totally over-prepared with lots of supplies and test sheets for set up and enough real printed paper for about 70 books (when I’m planning to make only about 40). And of course I didn’t need most of it. Instead, it was a rather uneventful couple of hours. It all went unbelieveably smoothly — I quickly got the machine set up and I spent the rest of the time inserting paper and watching the laser cut (took 2-3 minutes per 8-1/2″ x 11″ page). (And nothing caught fire!)

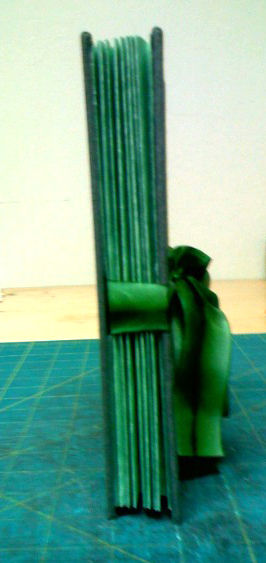
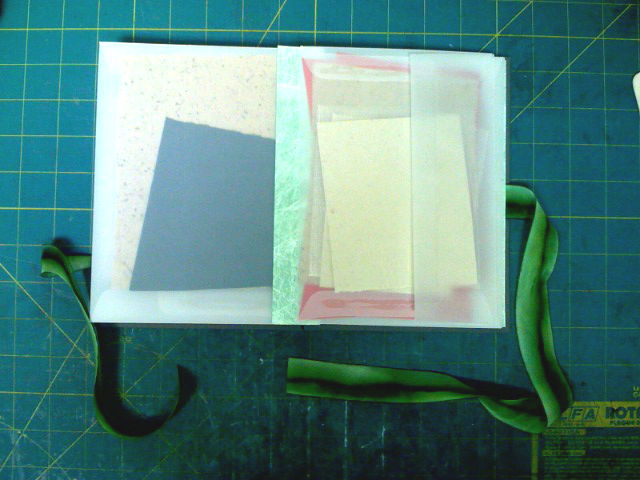
Here’s some pictures and such about my pop-up and the pieces I cut on the laser cutter. My book is called “Fall” and includes this poem by Emily Dickinson. (It’s the last in a series of books I’ve done about the seasons.)
The morns are meeker than they were,
The nuts are getting brown;
The berry’s cheek is plumper,
The rose is out of town.
The maple wears a gayer scarf,
The field a scarlet gown.
Lest I should be old-fashioned,
I’ll put a trinket on.
I wanted a pop-up that illustrated the last line — some sort of fall trinket — maybe a pop-up flower…
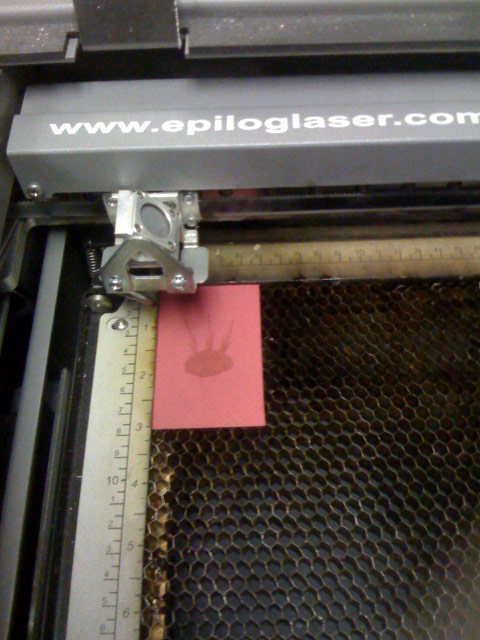
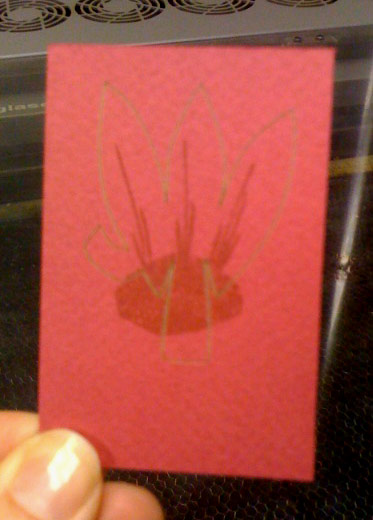
The picture to the left is one of my test sheets in the cutter before cutting. It cuts like a vector plotter (are those made anymore?) — the laser traces the outline of the object as if a phantom hand were drawing it. In the photo on the right, that grayish line is where the laser cut to form the petals for one part of the pop-up. The darker reddish color is the design I printed on my ink-jet. You can get a better idea from the photos below:
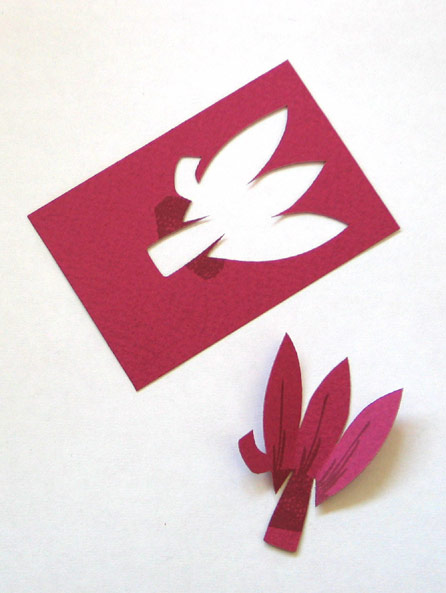
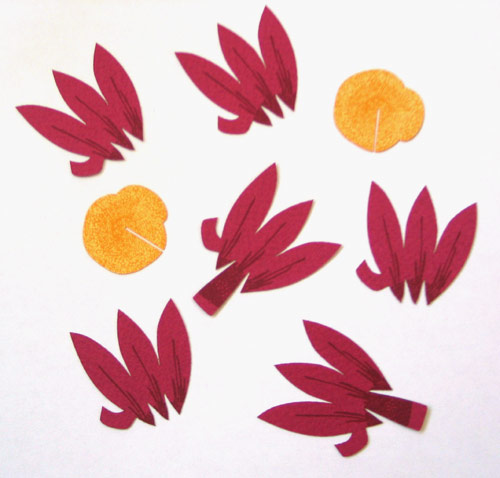
On the left is the petal detached from the sheet. On the right are all the pieces of the pop-up. And here’s a model of the finished piece using the laser-cut parts:
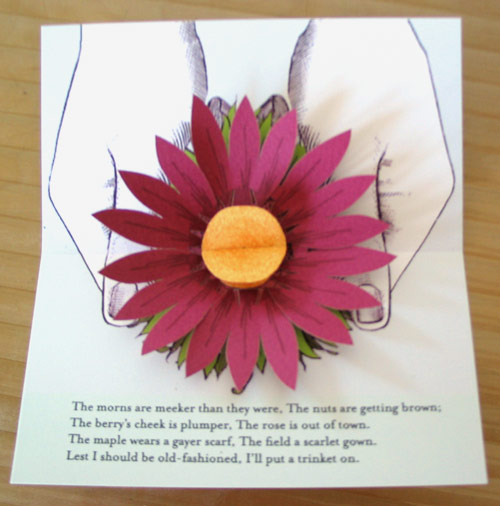
There’s more work to do… on the background graphic, letterpress printing the poem, and then it all has to be assembled. But the really time consuming hand-aching part is done!
 I mentioned this simple to make finishing press in my directions for the double-fan adhesive binding. But I think it merits a mention in a blog entry too.
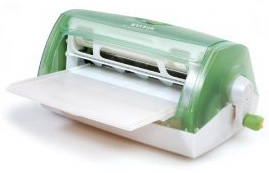
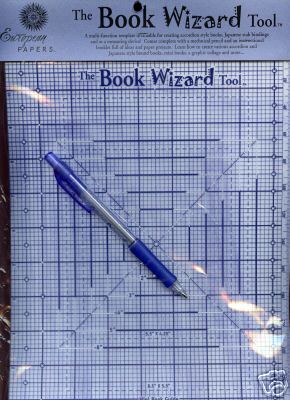
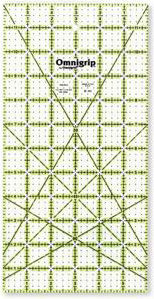 I make a lot of models — all cut by hand — before I commit to making an edition of anything. One of the tools I couldn’t do without is my plastic quilting ruler. It’s 6″ wide, 12″ long, and lets me cut 2 edges at once. Since it’s clear plastic, I can see through to what I’m cutting underneath. That and the printed grid are really helpful when trying to center something on a page. The only drawback is that over time I’ve dug into the plastic with my X-acto knife, and the edge of the ruler isn’t as crisp as a metal ruler of the same age might be. Quilting rulers come in all sorts of sizes: 4″x 8″, 6″x 6″… I have another one that is 6″x 24″ — it can be a bit unwieldy but it comes in so handy when I need to quickly cut up a large parent sheet of paper.